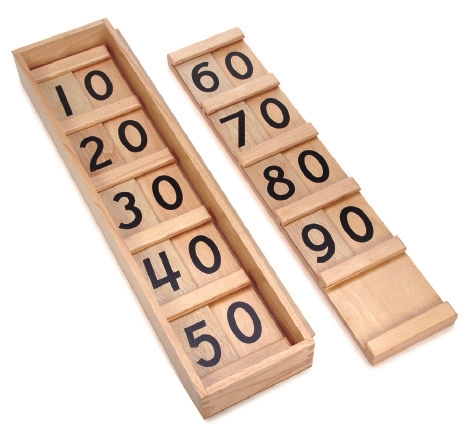
First, here is what it looks like in Montessori classrooms (This materials can be found at alisonsmontessori.com):
And here is how you use them to present the concepts.
Now, my DIY version took only a few minutes to make, and I have used it with my three children over a period of five years... It is durable, and takes up very little space, which makes it ideal for the home environment.
Cut 4 tan felt rectangles, approximately 16" by 6"
Cut 16 tan felt strips, 1/4" by 6"
Cut 18 tan felt rectangles, 2 1/4" by 2"
Now the assembly part:
Follow this diagram to divide each 16" by 6" rectangle in five portions. Mark the horizontal lines with a pencil.
Using felt glue or a glue gun, attach one strip of felt on each horizontal line. Repeat with each 16" by 6" rectangle.
Now, with a Black Sharpie, proceed to write the numbers (centered on each column) as follows:
For the TEENS BOARD
Board 1:
Mark the individual rectangles 1 to 9. These are going to be your movable parts.
For the TENS BOARD
Mark the individual rectangles 1 to 9. These are going to be your movable parts.
And you are done :)


